
I love lemonade. Especially when its lemonade infused with herbs, namely basil, tarragon, or rosemary. This is actually quite easy. You simply make lemonade as you normally would but instead of using plain simple syrup you add herb-infused simple syrup. Pretty simple really. So, working off that idea, I thought, “Why not make a limoncello infused with basil?” So, with this idea in mind I set off to make what should be my all-time favorite Spring sipping beverage.
Basil-Infused Limoncello:
- 1x 750 ml bottle of Skyy Vodka
- 1x 32 oz mason jar
- 5 organic lemons
- 1x vegetable peeler
- 1 cup simple syrup
- 8-10 leaves of organic basil
Using a vegetable peeler, carefully remove the peels from the lemon without removing any of the white pith, which will impart a very bitter, astringent flavor to your infusion (Picture 1). Place lemon peels into the 32 oz mason jar, fill with vodka, and infuse for 1-4 weeks (or until desired lemon flavor is reached). After desired lemon flavor has been reached, strain and filter the infusion into a clean bottle and set aside. Now its time to make the basil-infused simple syrup! In a small pot, add 1/2 cup of sugar to at least 1/2 cup of water and mix over medium-high heat until all the sugar has dissolved. At this point, add the basil leaves and stir until all leaves have been covered with the syrup (Picture 2). Remove from heat and let stand for at least 30 minutes (or until desired basil flavor has been reached). After which strain the simple syrup into a large bottle containing the lemon infusion (Picture 3, 4) and vigorously shake for 10 seconds. This will help distribute the syrup mixture into the infusion. Let the mixture rest for 1 week in a cool, dark place before tasting. The end result (Picture 5) will be 30% abv and an absolute delight to sip on any Spring day!
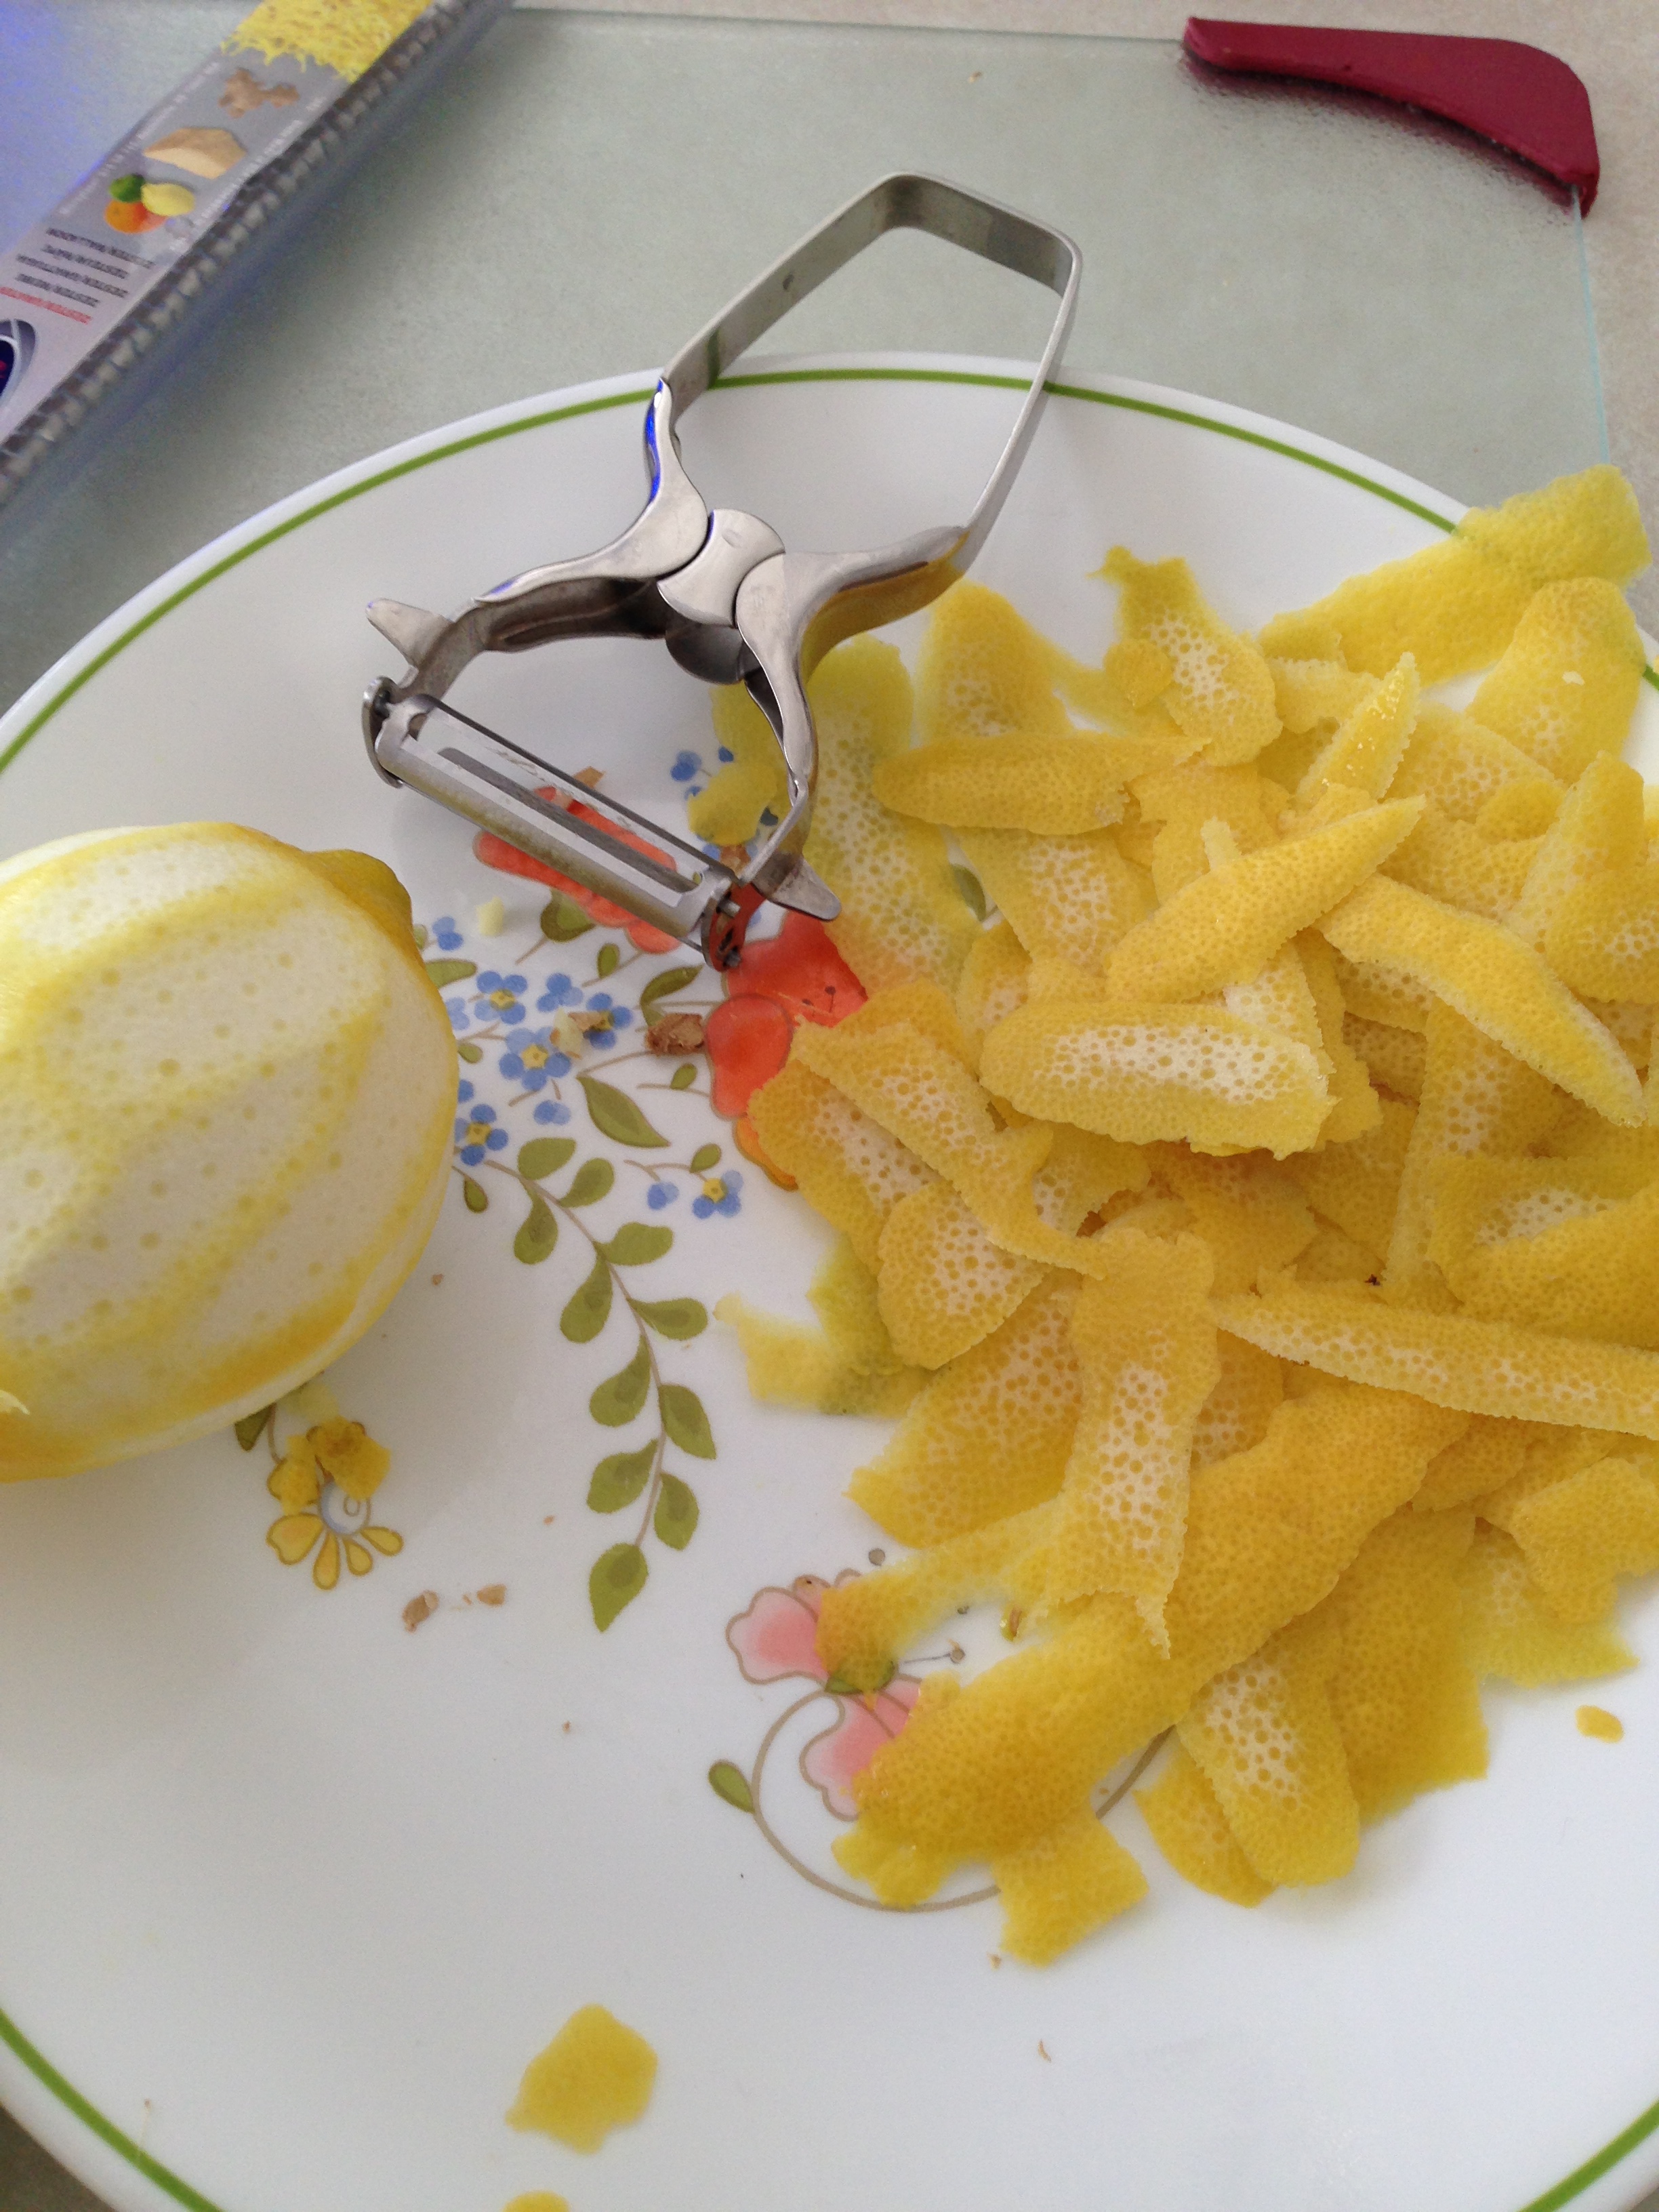
Use a peeler to carefully remove the lemon peels.

Basil infusing into the simple syrup before being taken off the stove.

Strain the simple syrup then add to the lemon infusion.
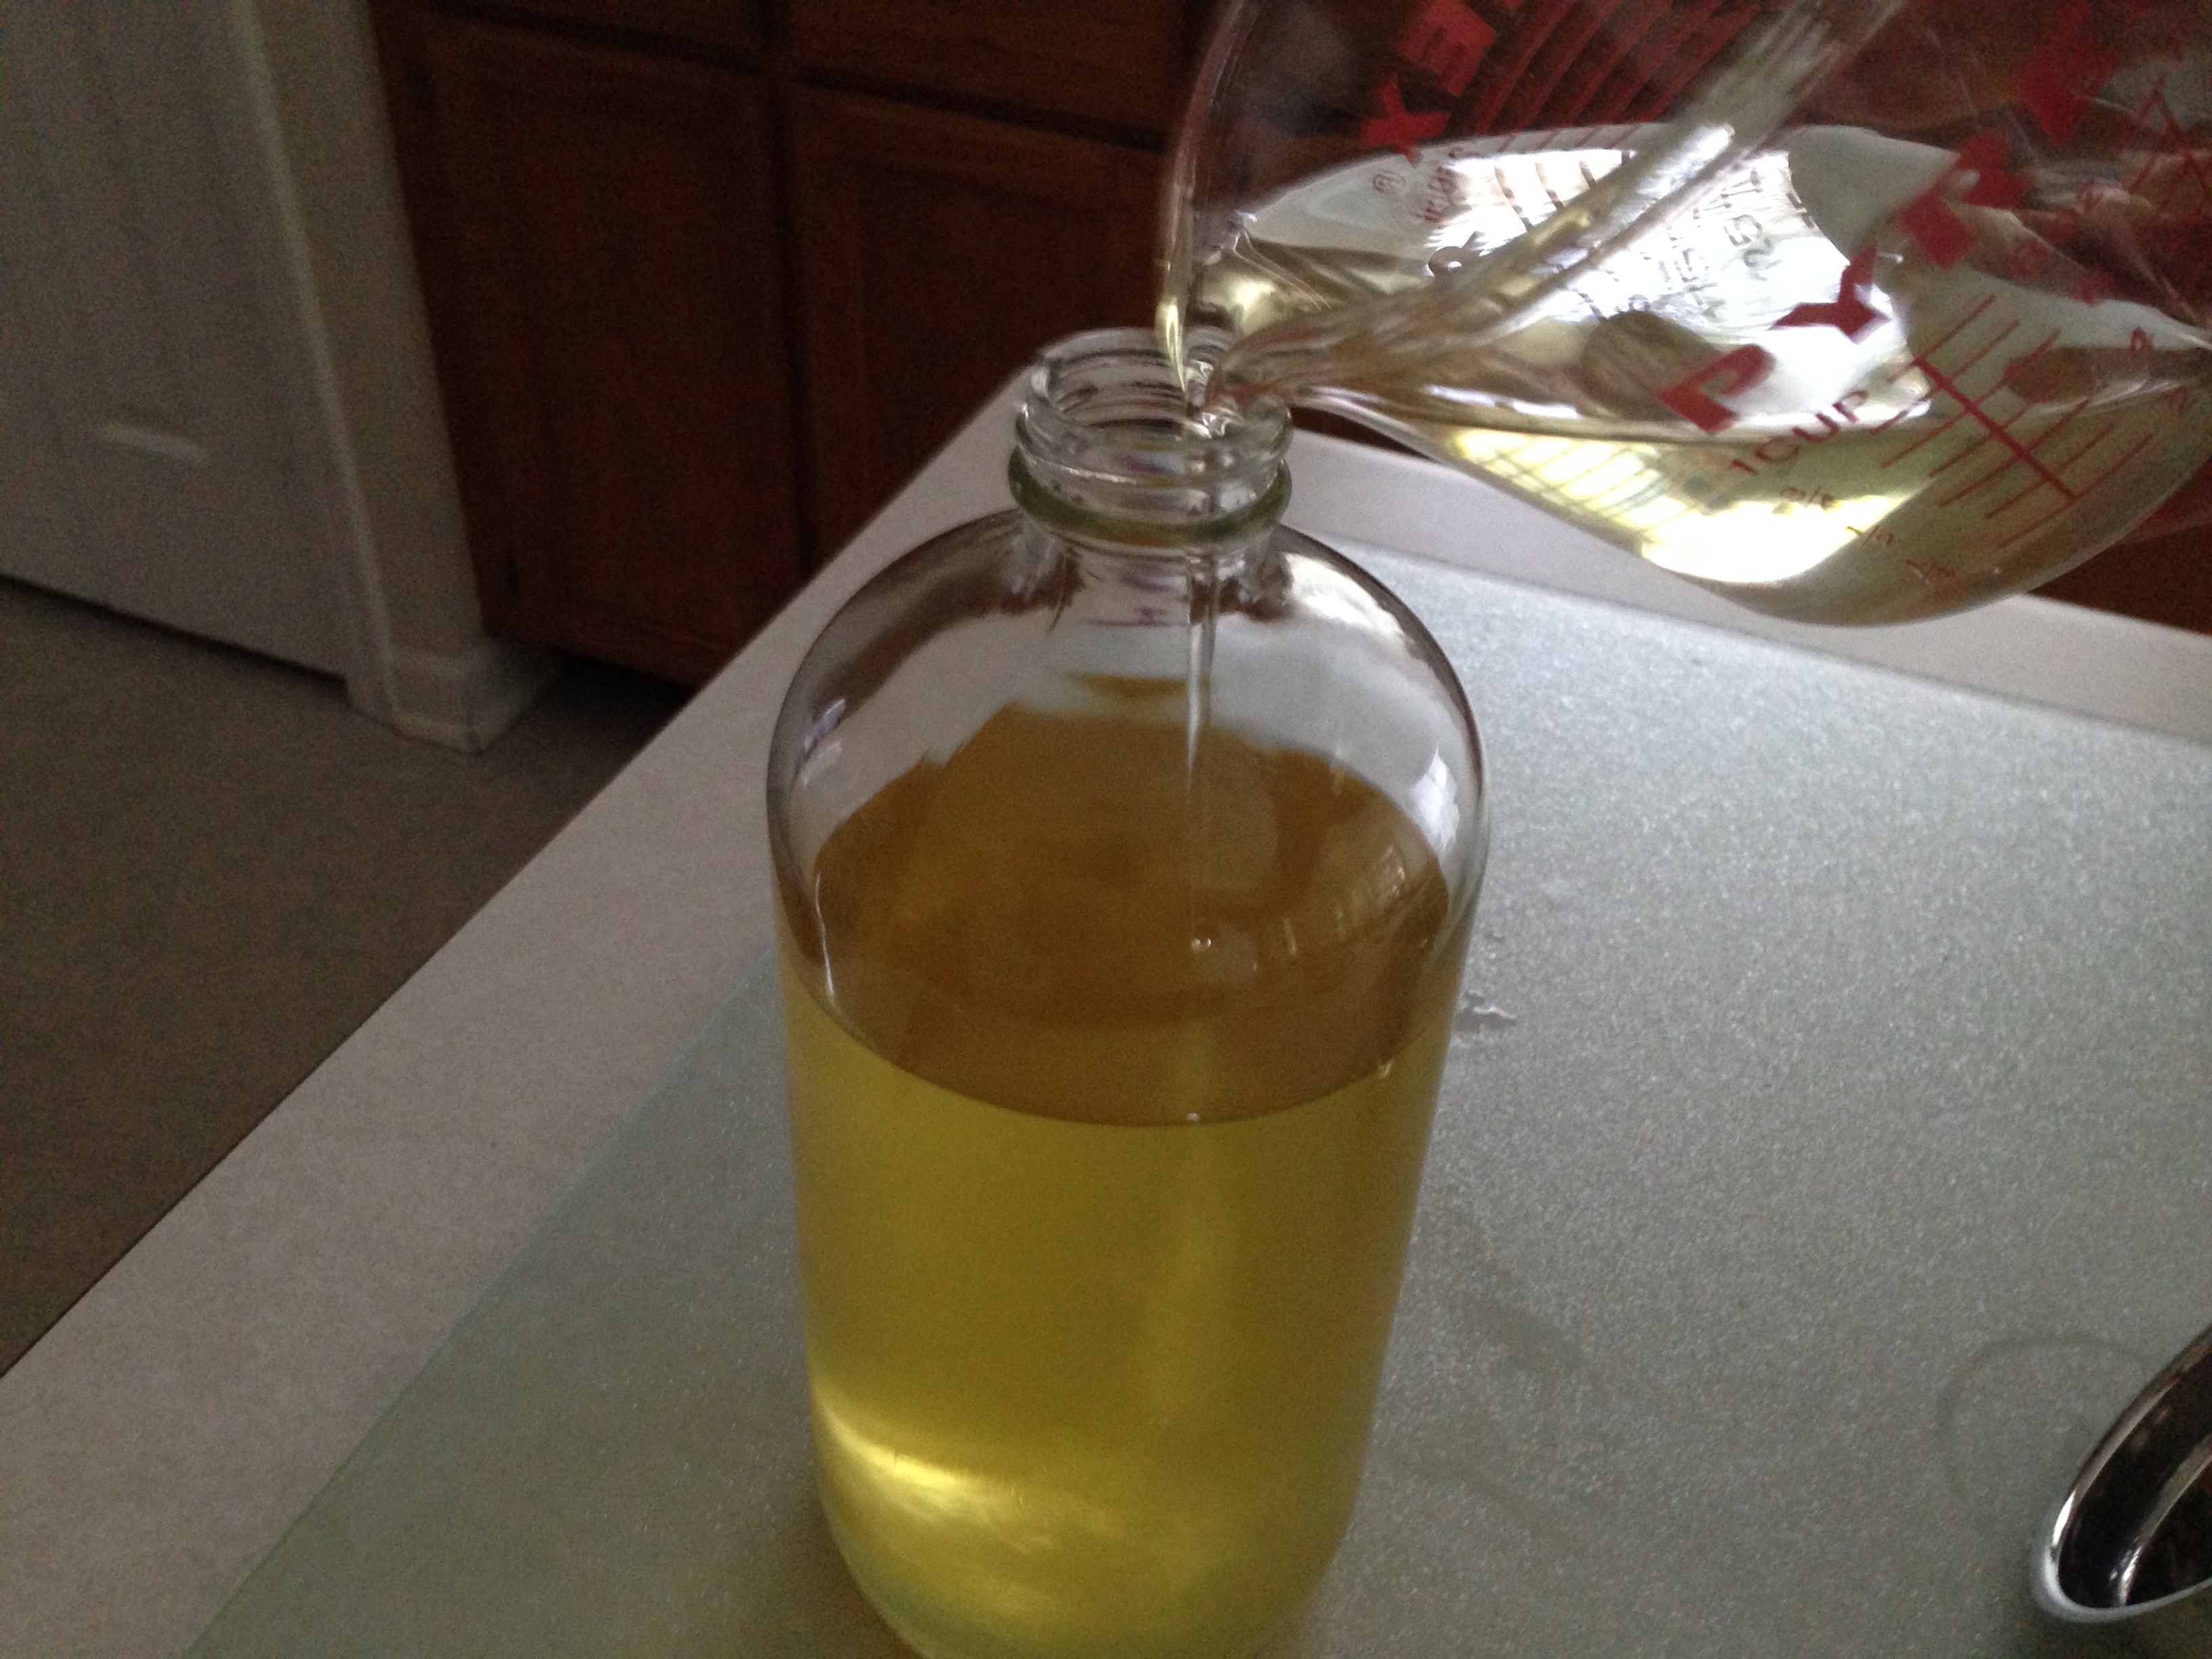
Pouring the syrup into the lemon infusion.

Look at that beautiful bottle of limoncello!
UPDATE: 2 JUNE 2014
I tasted the limoncello and was disappointed in the flavor profile. It tastes strongly of lemon (as it should) but there is no presence of basil at all! This means that I either used poor quality basil leaves (I got them from a local supermarket) or that infusing them into the simple syrup just doesn’t work for the flavor strength I need. The next time I attempt this recipe, I will infuse the basil directly into the lemon infusion before adding the simple syrup, and remove the basil once it is to my tastes. As for the simple syrup amount, this version of limoncello is lightly sweet, but could use a bit more sweetness to be similar to the more traditional limoncellos which toe the line of sweet-but-not-too-sweet. However, this could also be due to mouthfeel and a glycerin addition may round out the body and provide the mouthfeel that I want.

